Module 1 / 2
Setup definition: how to write rules
How to write a setup so that it can be repeated and measured: verifiable conditions, invalidation, filters, and a compliance protocol over five sessions.
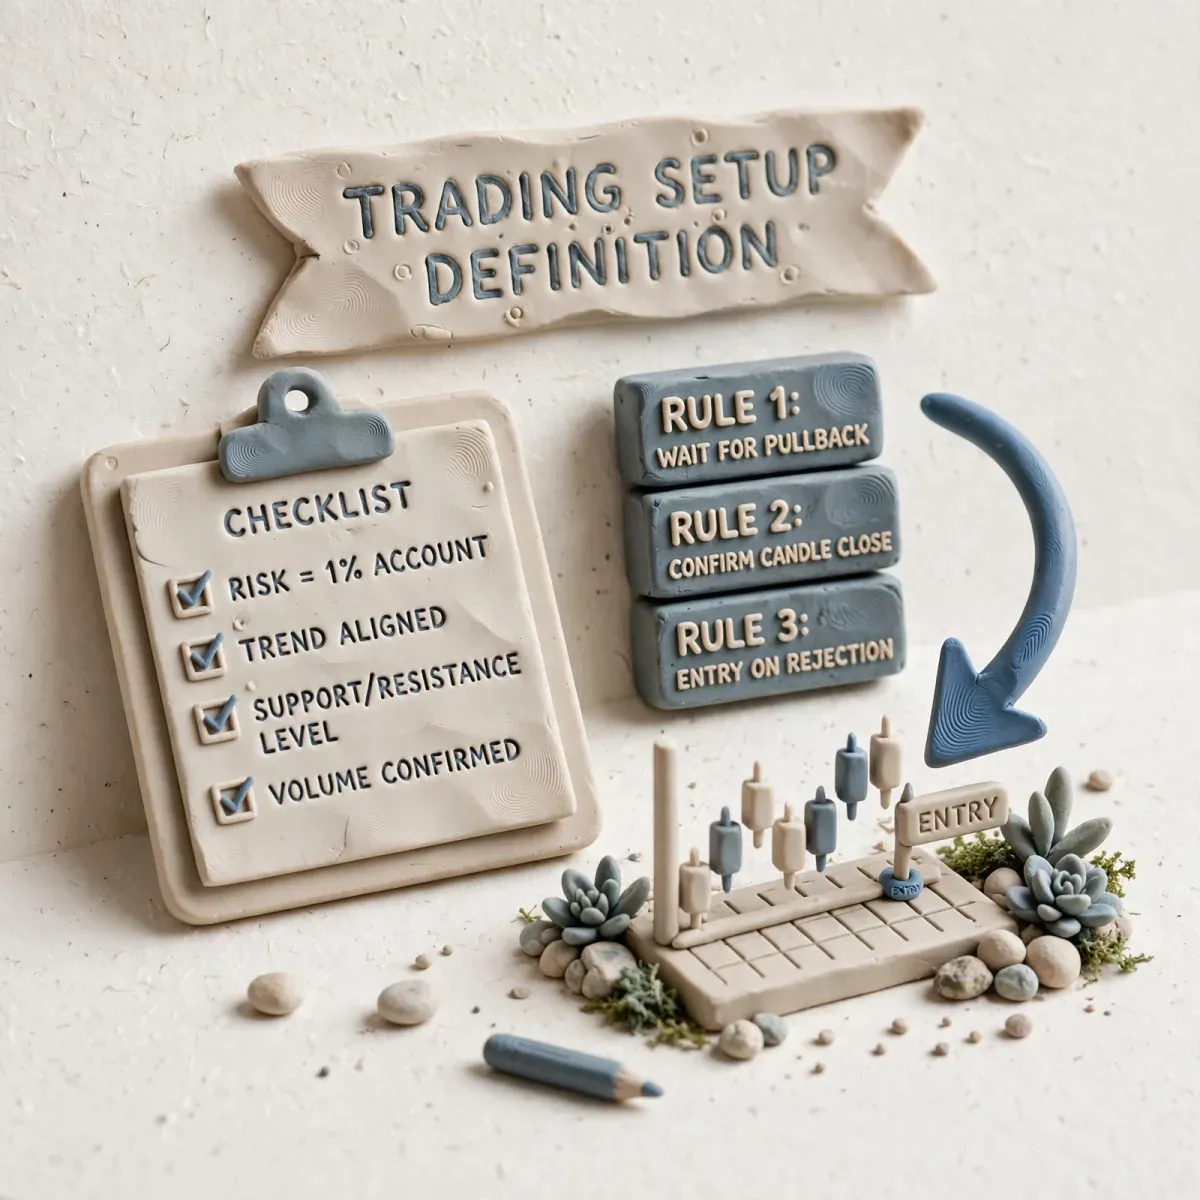
- Author
- Zordon Intelligence Sp. z o.o.
- Updated
- 9 min read
- Structure sources
- 4
What a setup is and who this lesson is for
This lesson explains how to write a setup definition so that it can be repeated, backtested, and measured. We direct it to people who already have a trading plan and want the “setups” block to stop being a description of mood and become a list of conditions.
A setup definition is a set of conditions, each of which you resolve with two answers: met or not met. If a condition cannot be resolved without discussing it with yourself, it is not a condition, it is an impression. “I am buying because it looks strong” is not a setup — it is an opinion spoken on candles.
Six fields of setup definition
You describe every setup with the same template, regardless of market. The template enforces completeness: a missing field is visible immediately, even before the session.
- Market, product, and timeframe — e.g. EUR/USD as a CFD, D1 context, entry on H1.
- Context — necessary condition: a trend with a defined structure or range with boundaries. Without context, there is no entry.
- Trigger — one specific rule: candle close, level breakout, or retest.
- Invalidation — a level recorded before entry, at which the setup dies, i.e. the stop-loss location.
- Management — partial close, stop move, time exit.
- Filters — session hours, maximum spread, window around macro data, correlation with open positions.
If the template cannot be checked off in a dozen seconds before clicking, the definition is too vague. Time is the test here: with six fields, resolving each of them should be immediate.
Turn words into numbers: verifiable conditions
The same idea can be written so that two people read it identically, or so that each understands it differently. The table below shows the difference; all values in the third column are illustrative numbers.
| Vague writing | What is wrong with it | Verifiable writing (illustrative number) |
|---|---|---|
| “nice candle” | everyone evaluates differently | H1 candle close above the maximum of the consolidation from the last 6 candles |
| “uptrend” | no structure definition | at least two higher highs and two higher lows on D1 |
| “in support zone” | zone without boundaries | price within 0.5% of the previous swing low |
| “stop under structure” | level shifting during the session | stop 1 tick below the trigger candle low |
| “calm market” | no cost threshold | EUR/USD spread not larger than 2 pips |
| “I watch news” | no time window | no entry in the 30-minute window before publication and 15 minutes after |
The calm market row has a practical consequence: entry cost can be expressed in R, i.e. in risk units. The formula is simple:
cost in R = spread in points / stop distance in pointsNumerical example (illustrative number): a stop 30 pips wide and a 2-pip spread give a cost of 2 / 30 ≈ 0.07R per transaction. With 20 transactions, that is about 1.4R, i.e. more than one full risk unit lost to cost alone. This calculation turns “I watch the spread” into a concrete filter with a threshold.
Five-session compliance protocol
Before you start testing the setup, check whether you can apply it at all. Over five consecutive sessions, you record every signal, including rejected ones, and compare them with the checklist. The compliance threshold is 90% (illustrative number).
| Session | Signals seen | Signals aligned with checklist | Trades taken | Compliance % | Note |
|---|---|---|---|---|---|
| 1 | |||||
| 2 | |||||
| 3 | |||||
| 4 | |||||
| 5 | |||||
| Total | threshold: ≥ 90% |
You calculate compliance as the share of transactions that passed the full checklist, in the number of signals aligned with the checklist. Non-compliance is two events: entry without full conditions and skipping a signal that met the full conditions.
Threshold arithmetic (illustrative number): with two signals per session, five sessions give about ten signals. A 90% threshold means that out of ten signals, you are allowed to skip one, because 10% of 10 is 1. Two omissions drop the result to 80%, i.e. below the threshold — you repeat the protocol instead of rounding the result up. Rejecting a signal outside the checklist is not an error; the error is taking a signal that did not pass it.
The protocol result is information about you, not the market. If compliance is low, backtesting the setup in backtest and forward test describes a strategy you are not trading.
Naming and A/B variants
Give the setup a short name, e.g. Retest-HL-1H, and use it in the plan and journal without changes. Changing the name every week breaks data into pieces that cannot be compared.
When one idea has two trigger versions — for example entry on candle close and entry on level breakout — do not keep them under one name:
- Give each variant a separate name:
Retest-HL-1H-AandRetest-HL-1H-B. - Record results in R separately for each variant.
- Compare both only after collecting a sample, and then keep one.
The consequence of this split is arithmetic: a sample that was enough for one setup, after splitting, supports two variants with half the transactions each (illustrative number). If you have 40 recorded transactions, that is 20 per variant — so split into variants only when you intend to collect data longer, not when you want to have two setups right away.
Setup and instrument and session hours
A trigger worked out on EUR/USD does not transfer directly to the Warsaw Stock Exchange or to futures. When changing the instrument, check four things again:
- Liquidity and spread — the Warsaw session has different peak liquidity hours than the currency market operating 24/7; sessions determine when the cost filter makes sense at all.
- Structure — trend and range on an index look different than on a currency pair, because the volatility distribution during the day is different.
- Contract specifics — futures has expiry and roll, which a currency pair does not have.
- Data calendar — the news filter covers publications concerning a given market; US data does not have to be relevant for a Warsaw Stock Exchange company.
A new instrument means a new setup definition and a new sample, even if the trigger looks familiar. The same applies to indicators: as long as you record only the tool name in the definition, not its period and price source, two people read the same signal differently — how such a record looks is shown in the lesson Indicators MA, RSI, and MACD.
When setup definition says “do not trade”
Four conditions you resolve before clicking, not after the fact:
- The checklist does not pass in full. Lack of one checked condition means no transaction. A “mostly compliant” setup is simply non-compliant.
- You do not know the invalidation level. If you cannot record the price at which the setup dies, you do not know your 1R either — and entry without this number is a bet, not a transaction.
- Entry cost exceeds the threshold from the filter. When spread in R comes out above the limit recorded in the definition, you skip the signal, regardless of how good the chart looks.
- You changed the definition during the sample. A new definition means a new sample from zero; previous records stop describing what you actually do.
Most common mistakes when defining a setup
| Mistake | Why it hurts | Correction |
|---|---|---|
| Trigger described in words (“nice candle”) | cannot be repeated or backtested | describe the condition numerically, e.g. close above a specific level |
| No filter for spread and news | results are ruined by the most expensive candles and data publications | record maximum spread and quiet window around data |
| Subjective invalidation | stop shifts under emotional influence | fixed level recorded before entry |
| Definition changed after a loss | data stops being comparable | change only during review, with a version number |
| Copying a setup from social media | other people’s market, other people’s costs, other people’s session | rewrite for your own product and test it |
| Two triggers under one name | statistics mixes two different systems | split into A/B variants or choose one trigger |
Measurable exercise
Write one setup on one card according to the six fields from this lesson. Turn every vague description into a condition that can be resolved without hesitation, and calculate cost in R for your typical stop. Over five sessions (illustrative number) on demo, take only transactions that pass the checklist in full and fill out the compliance protocol. At the end, calculate the result and compare it with the 90% threshold. If the threshold was not achieved, do not change the setup — repeat the protocol and check which field takes you the most time to resolve.
Next step
When you have one described setup, learn to test it before increasing position size: backtest and forward test, and then journal and metrics.
Check yourself
Which description is a setup, not an opinion?
A setup has measurable conditions, invalidation, and filters — not chart mood.
Common questions
Can a setup have two triggers?
Better one. Two triggers are two systems in one journal. If you need a variant, name it separately and measure it separately.
What about correlation, for example US100 and CFD on NASDAQ?
Treat correlated positions as one shared risk and record it in filters: at most one exposure to the same factor at a given moment.
Can I paste a setup from YouTube unchanged?
You can treat it as an educational template, but you must test it on your own costs and in your session. Other people's effectiveness is not your expectancy.
Why fill out a compliance protocol if the setup earns?
Because a positive result over five sessions does not tell you whether you are earning thanks to the rules or despite breaking them. The protocol measures something you cannot see in the balance: whether you are applying the system you intend to test at all. Without this measurement, backtest describes a different strategy than the one you trade, and the result cannot be assigned to any decision.
Advertisement
Key takeaways
- A setup is a repeatable checklist: market and timeframe, context, trigger, invalidation, management, and filters. Every condition must be resolvable with one 'met' or 'not met' — otherwise it remains an opinion about the chart. This lesson gives a six-field template, a table converting vague descriptions to numbers, and a compliance protocol showing whether you are actually trading what you intended to test.
Structure sources
The material is based on source documents. Variable values — fees, limits, regulatory figures — are worth checking at the source before making a decision.
- Babypips — trading plan / backtesting concepts — babypips.com
- StockCharts ChartSchool — systematic study hygiene — chartschool.stockcharts.com
- KNF — warnings for retail investors — knf.gov.pl
- Kurs Tradingu — /en/metoda (backtest mini-report)
Disclaimer
- Educational material. Not investment advice or a recommendation. Trading involves the risk of losing capital.
- The materials are educational. They are not investment advice or a recommendation within the meaning of financial instruments trading regulations. Numbers in examples are illustrative unless a measurement date and source are given.
Who writes this and how we check it
The materials are written and verified by Redakcja Kurs Tradera — the rules are described on about the site: every number has a source, and we show gaps openly. Report a factual error via contact — corrections are described in the content.
Progress is stored only in this browser (localStorage) — there is no account and no copy on the server. Clearing site data will remove it. Manage your data